


We're going to make a simple to-do app with Nuxt. Except, instead of manually defining server routes and fetching them on the client, we're going to use Prim+RPC to define functions on Nuxt's server and simply call those functions directly from the client (without actually importing them).
Finished Tutorial Code: doseofted/todo-nuxt-prim-rpc-demo (Github)
Bare Bones Example: doseofted/prim-rpc-examples (Github)
The Problem
There are many times when I need to call a function on the server from the client, without the ceremony of setting up an HTTP server. When I'm just playing around with an idea things like serialization, type generation, file upload support, HTTP methods and status codes just aren't yet something that I'm thinking about. Luckily Nuxt provides utilities for making HTTP calls easier. Using Nuxt's server API routes and the useFetch composable I can alleviate some of my HTTP hassles. The syntax for defining routes is clean and easy to use. When combined with the useFetch composable, my routes are partially typed and I can see the return type from the client. Here's an example:
// Server: @/server/api/hello.ts
export default defineEventHandler(event => {
  const { name = "world" } = getQuery(event)
  return { hello: String(name) }
})

// Client: somwhere inside of @/pages/index.vue
const { data: hi } = useFetch("/hello", { query: { name: "world" } })
There are a few caveats though:
Each HTTP route in Nitro requires its own file. The exception is using a "catch-all" route but then I'll need to check every URL.
TypeScript support for routes only works as long as I'm using Nuxt's server. Queries are not yet typed at the time of writing.
I'm still writing routes specific to an HTTP server when all I really want to do is call a function defined on the server from the client.
There is now an easy way to do this not only in Nuxt but in a way that works with whatever your favorite framework happens to be. It's called Prim+RPC and it provides a method of accessing server-defined functions on the client without additional wrappers. Let's see what our last example looks like with Prim+RPC:
// Server: @/functions/index.ts
export function hello (name = "world") {
  return { hello: String(name) }
}
hello.rpc = true

// Client: somwhere inside of @/pages/index.vue
const { data: hi } = useAsyncData(() => backend.hello("world"))
Our server call now just appears to be a regular JavaScript function. We can use the client, which I've named "backend", to call that function. The return value is whatever we returned, just wrapped in a Promise (that's why I'm also using useAsyncData). You'll also notice that the parameters are now typed on the client!
While it appears that we are calling the function, the client is intercepting the function name and arguments with a JavaScript Proxy and then composing a remote procedure call (RPC) to the server for us. The Prim+RPC server and client handle the server/client dance so that we can just call our functions.
Let's See It In Action
Let's demonstrate this with a short tutorial. I've created a basic todo app with everything almost ready to go: server logic is ready and the client app has already been created. The only thing missing: the server and client can't communicate yet.

Let's learn how to wire them up in this tutorial. You can follow along by downloading the unfinished demo like so:
npx giget@latest "gh:doseofted/todo-nuxt-prim-rpc-demo#starter"
This command will download a copy of the demo repository on Github. If you'd like to download a copy of the finished code, you can remove #starter from the command above to download the finished demo. Open this project in your favorite code editor.
First, let's set up the project by copying the example environment file. In this file, you'll find a command that can be used to generate the value of DATABASE_URL. This is the connection string used by Prisma to communicate with our SQLite file.
cp .env.example .env
echo "DATABASE_URL=\"file:$(pwd)/data/dev.db?connection_limit=1\"" >> .env
Now we can start the project in three commands. We'll run them in sequence: 1. install dependencies 2. prepare the SQLite database and 3. start the project.
npm install && npm run migrate:dev && npm run dev -- --open
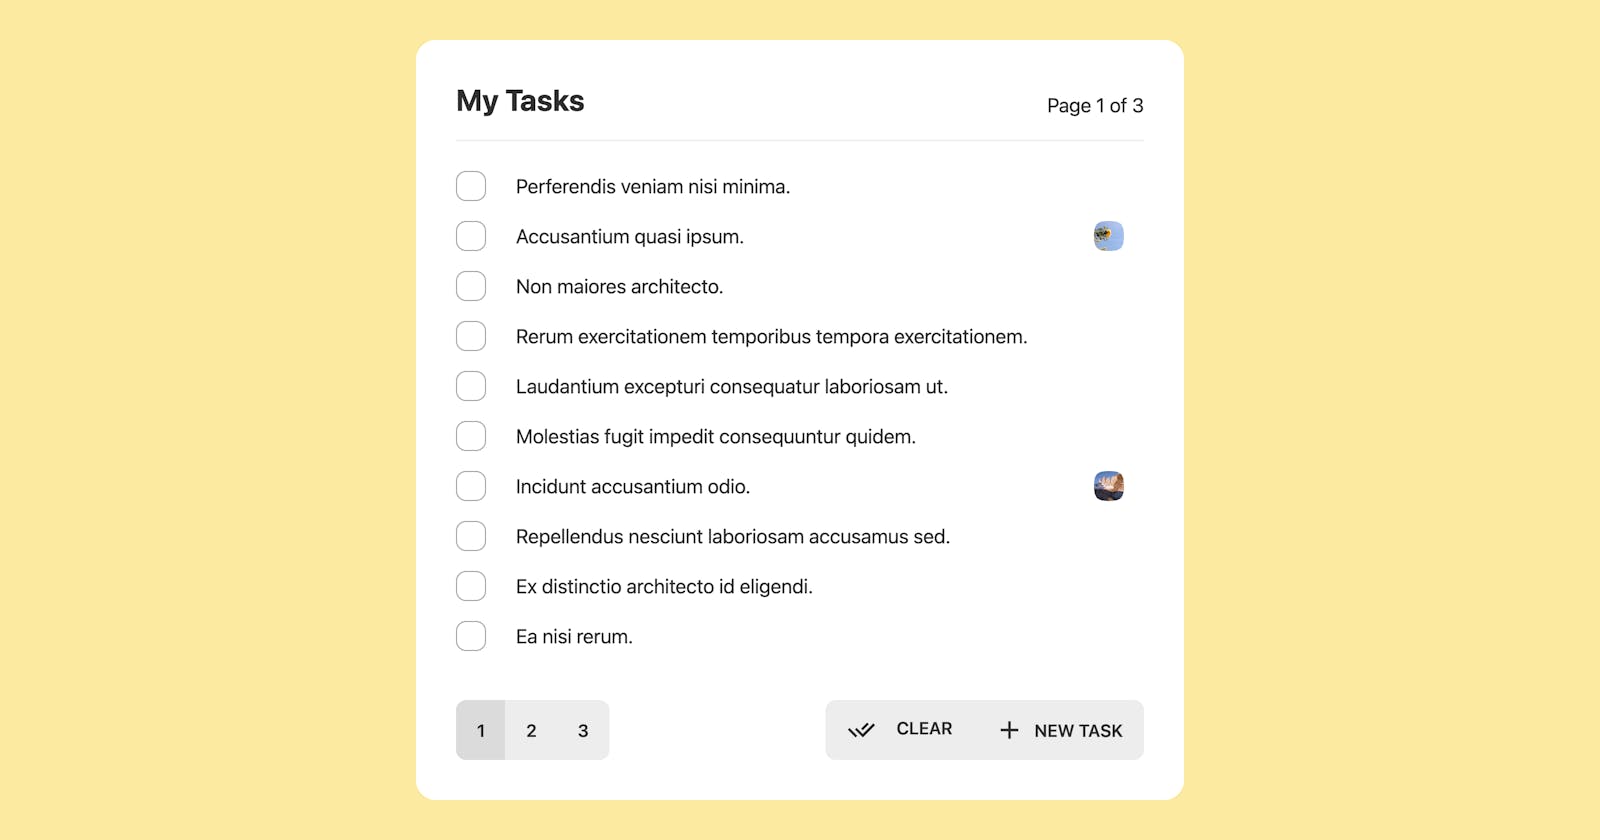
A browser window will automatically open. You'll find that we don't have any tasks just yet. This is because the app cannot yet communicate with the server.

All of the functions that should be called on the server are located in the module found at @/functions/index.ts (@ representing the root of the project). This is primarily a series of functions to create todo items. In Nuxt alone, we would expose functions through a series of Nitro server routes. In our example, we'll set up Prim+RPC using a single API route.
Create a file at the path: @/server/api/[...].ts (this is a "catch-all" route)
import { createPrimServer } from "@doseofted/prim-rpc";
import { defineH3PrimHandler } from "@doseofted/prim-rpc-plugins/h3";

const prim = createPrimServer({
  module: import("../../functions"),
  prefix: "/api/prim",
});

export default defineH3PrimHandler({ prim });
In this file we've created a Prim+RPC "server." This is a framework-agnostic utility that transforms an RPC (typically a JSON object) into a function call and the return value into an RPC response. I put "server" in quotes because it doesn't serve anything alone. We need to define the channel over which RPC travels. defineH3PrimHandler() creates an unjs/h3 route that is compatible with Nuxt.
By default, functions aren't allowed to be called unless marked as allowed. We can do so by adding a .rpc property to each function.
Open @/functions/index.ts and add this property to the hello() function.
export * as todo from "./todo";

export function hello() {
  console.log("Hello server!");
  return "Hello client!";
}
hello.rpc = true;

export type { TodoItem } from "./todo/schema";
While we have not set up the client yet, we can already call the hello function! Try visiting this URL with Nuxt running:
curl --request GET \
  --url http://localhost:3000/api/prim/hello
You'll be greeted with a result both from your request and in the server's console. The module we gave the server is being served at http://localhost:3000/api/prim. Typically requests are made over POST using a JSON body but we don't have to concern ourselves with the details because the next step is setting up the Prim+RPC client that will automatically make this request for us.

Let's create the client now. Create a file at the path @/composables/backend.ts :
import { createPrimClient } from "@doseofted/prim-rpc";
import { createMethodPlugin } from "@doseofted/prim-rpc-plugins/browser";

export const backend = createPrimClient<typeof import("@/functions")>({
  module: process.server ? import("@/functions") : null,
  endpoint: "/api/prim",
  methodPlugin: createMethodPlugin(),
  clientBatchTime: 15,
});

export type { TodoItem } from "@/functions";
We've just created a composable named backend that we can call all throughout our Nuxt app. It provides a method to call our functions remotely on the client (and directly on the server). We can test this out by adding a function call on the index page of our app.
Open @/pages/index.vue and replace this line at the top of the file:
// replace this line
tryOnMounted(() => console.log("Not implemented"))
// with this line
tryOnMounted(() => backend.hello().then(console.log))
Now open http://localhost:3000 in your browser, right-click and inspect the page. If you open the console, you'll see our greeting in the console for the client. If you check the console where the server is running, you'll find the greeting for the server. Better yet, this function is typed with TypeScript.

That's all there is to it! Prim+RPC is now set up and we can start making our functions available to the client. Next up, we'll wire up all of our todo-related functions to the user interface.
Let's Wire It Up!
Let's get this todo app working now. In the file @/functions/index.ts you may remember seeing this line:
export * as todo from "./todo";
If we open that file (@/functions/todo/index.ts) we'll find several functions to interact with our todo items. Just like the hello() function we looked at earlier, we'll need to export the functions that we need and add a .rpc property to each function. Let's do this now to the following functions:
export async function count() { /* ... */ }
count.rpc = true

export async function find(todoId: TodoItemId) { /* ... */ }
find.rpc = true

export async function check(todoId: TodoItemId) { /* ... */ }
check.rpc = true

export async function list(page?: z.infer<typeof list.params>["0"], pageSize?: z.infer<typeof list.params>["1"]) { /* ... */ }
list.rpc = true

export async function create(todo: HTMLFormElement | z.infer<typeof create.todo>) { /* ... */ }
create.rpc = true

export async function update(todo: HTMLFormElement | z.infer<typeof update.todo>) { /* ... */ }
update.rpc = true
Great! Now these functions are ready to be used by the client. Open up @/pages/index.vue. The first thing that we want to do is get the initial page data, given in our useAsyncData function. Let's replace the sample data with the actual data:
Find and replace the line below in @/pages/index.vue
// replace this line
const { data, refresh: refreshTodos } = useAsyncData(() => Promise.all([
  [{ name: "N/A", desription: "N/A", photo: "", id: -1 }],
  0
]), { watch: [page] })

// with this line
const { data, refresh: refreshTodos } = useAsyncData(() => Promise.all([
  backend.todo.list(page.value, pageSize),
  backend.todo.count()
]), { watch: [page] })
Save this file and open up your browser (reload if needed).

We're getting somewhere! However, when we tap on a task, we don't see the task that we tapped. Instead, we see "N/A". Let's fix that now.
@/functions/prisma.ts where we run a function on startup to populate an empty database with fake data in development.Open up @/pages/index/[id].vue and replace the following line:
// replace this line
const { data: page, refresh } = useAsyncData(async () => ({
  name: "N/A", description: "N/A", photo: ""
}), { watch: [id] })

// with this line
const { data: page, refresh } = useAsyncData(() =>
  backend.todo.find(id.value), { watch: [id] })
Now let's go back to our browser and open up a task.

Well, there it is! We can now browse all of our tasks. Now the last step is to make it a little more interactive. Let's learn how to create and update a task.
I Have Something Todo
You may remember that our @/functions/todo/index.ts file included two methods for creating tasks: todo.create() and todo.update(). We could create a task by calling this function using our backend client with the needed arguments. Here's an example:
const myTodoItem = await backend.todo.create({
  name: "My Todo",
  description: "This needs to be done.",
  file: new File([/* ... */], "some-attachment.jpeg")
})
This works just fine and can be called from the client. We can pass all of our todo options directly to our function, including a file. The arguments we give the function from the client will be the same on the server.
But I think that we can make this even easier. If we tap the New Task button in the app, we're presented with an HTML form. What if, instead of tracking all of the variables, we just give our function the form and let it grab the data that it needs?

Let's do that. You'll notice that inside the type definitions for our create() function is an HTMLFormElement. We can listen for the form's "submit" event (when we tap the Create button) and just pass the target directly to our function.
Look for the createNewTask() function inside of @/pages/index.vue.
async function createNewTask(event: SubmitEvent & { target: HTMLFormElement }) {
  try {
    console.warn("Not implemented")
    // ...
  } catch (error) {
    console.warn(error)
  }
}
Replace console.warn("Not implemented") above with the following:
await backend.todo.create(event.target)
And now we can create new tasks in the app! The backend client has read the form, grabbed the names and values of each form field and passed it to the server as a regular JavaScript object (no more manual parsing of FormData).
Of course, a todo app isn't much without being able to check items off of the list.

Look for the following function in the same file and make the replacement given:
async function checkOffItem(id: number) {
  // replace this line
  console.warn("Not implemented")
  // with this line
  await backend.todo.check(id)
  setTimeout(refreshTodos, 150)
}
The next natural step is to check off some items on the list. You'll notice that we can now check off items individually. There's also a button at the bottom of the page named Clear that doesn't do anything just yet. Let's wire this button up too (this one is unique).
Still in the same file, replace the function given below with the following:
// replace this
async function clearAll() {
  await Promise.all(todoList.value.map(todo => console.warn("Not implemented")))
  setTimeout(refreshTodos, 150)
}

// with this
async function clearAll() {
  await Promise.all(todoList.value.map(todo => backend.todo.check(todo.id)))
  setTimeout(refreshTodos, 150)
}
Unlike our previous examples, we're not just calling the backend function once. We're calling function 10 times (10 todo items per page), all at once! Now you would think that this would send multiple HTTP requests off to the server. However, we set an option on the client earlier called clientBatchTime which specified how long to wait before sending requests. It's currently set to 15ms. Instead of sending 10 separate HTTP requests, only a single call was made with all of our function calls included. You can verify this in the Network tab of your browser's developer tools.
Check and Check!
We've now set up most of the major actions inside of the todo app and we're almost finished but not quite yet. There are several more places where you'll find a message console.warn("Not implemented"). As an exercise, see if you can call the correct corresponding backend function that should be used in place of these placeholders (but know that there's a cheat sheet available if you scroll down a bit). The type definitions will guide you so that you shouldn't even need to reference the @/functions folder at all.
You may also take a peek at the completed example to find what function calls need to be made if you get stuck. Once these remaining function calls are implemented, we will have a working todo app!

If you're not quite up to the exercise, I get that, you can find the remaining replacements below! This will get the task detail page (@/pages/index/[id].vue) all wired up and ready to go:
// @/pages/index/[id].vue

async function checkOff(event: Event & { target: HTMLInputElement }) {
  // ...
  console.warn("Not implemented")
  // replace ⬆️ with ⬇️
  await backend.todo.check(id.value)
  // ...
}

async function updateTask(event: SubmitEvent & { target: HTMLFormElement }) {
  console.warn("Not implemented")
  // replace ⬆️ with ⬇️
  await backend.todo.update(event.target)
  // ...
}

async function removeAttachment() {
  console.warn("Not implemented")
  // replace ⬆️ with ⬇️
  await backend.todo.update({ id: id.value, file: "delete" })
  // ...
}
Our todo app is fully functional! And we didn't really have to think about client-to-server communication. We had a JavaScript function on the server and we called it from the client. Easy.

Next Steps
Try adding some new features to the app. All of the functions are located inside of @/functions and we can access those functions on the backend client anywhere in our app. Just remember to export the functions and set the .rpc property.
If you like this method of communicating between client and server consider learning more about Prim+RPC and giving it a star on GitHub! You can find the finished code for this project on GitHub as well!